django-allauth to extend basic account creation and authentication to support Single Sign-On (SSO) and multi-factor authentication (MFA). You can learn more here:
Introduction - django-allauth
The django-allauth documentation covers the available SSO providers. There are dozens of options for social networks and business accounts, but the major providers you are probably looking for are covered–e.g., Microsoft, Google, GitHub, Slack, and Okta.
Configuring an SSO Provider
Once you have an SSO provider you want to implement, find the provider here to get the necessary configuration template: First, create a Python file inside the config/settings/local.d or production.d directory. Files in these directories are loaded after the main configuration files. They load in order, so you can create multiple files with number prefixes to control ordering (e.g., 1-custom-config.py and 2-custom-config.py). For example, you might make 1-sso-provider.py to hold your SSO configuration and 2-mail-config.py to hold your email backend configuration. Your new config file must contain these settings at a minimum. We’ll use Microsoft as an example for these steps.SSO Provider Config
SOCIALACCOUNT_PROVIDERS configuration and list of SSO_PROVIDERS.
There are a few more configuration options you may need to change.
SSO Registration and Domain Allowlist
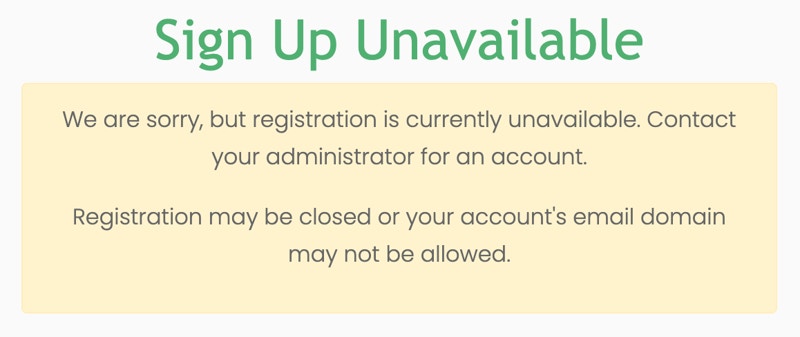
When someone authenticates with an SSO provider, one of two things can happen:- The SSO login creates a new account linked to the provider.
- The SSO login matches an existing local account; the two become linked, and the user is logged in under that local account.
DJANGO_SOCIAL_ACCOUNT_ALLOW_REGISTRATION to true or false with Ghostwriter CLI. Alternatively, you can set SOCIAL_ACCOUNT_ALLOW_REGISTRATION in your config file.
Using Ghostwriter CLI for these configuration changes makes everything easier. To apply the change (e.g., turning registration on or off), you must only bring the containers down and back up. If you change a Python config file, the containers must be rebuilt.
You may want to allow registration but only for specific domains. The domain allowlist manages email domains you want to allow to authenticate or register via SSO. Like the registration setting, you can set this via Ghostwriter CLI or in your config file.
Set DJANGO_SOCIAL_ACCOUNT_DOMAIN_ALLOWLIST with Ghostwriter CLI or SOCIAL_ACCOUNT_DOMAIN_ALLOWLIST in your config file. The allowlist can be defined as a space-separated list or a Python list (if setting it in your config file).
Here is what this might look like in your config file:
SSO Domain Allowlist
An error is raised if multiple existing accounts share the same email address. Rather than trying to connect one of them, the user will see a message encouraging them to contact an administrator.
SSO Email Authentication

Additional SSO Settings
Depending on your SSO provider, you may need to consider other configuration options. One common request is how to bypass clicking twice when signing in. By default, the sign-in page redirects users to a confirmation screen. The user must click the button to initiate the handshake with the SSO provider. This is a security feature to prevent abuse of an open redirect, but you can change the behavior. If you wish to have users log in immediately when they click the provider button, setDJANGO_SOCIAL_ACCOUNT_LOGIN_ON_GET to true with Ghostwriter CLI. For information is available here: